In the fast-paced world of online shopping, first impressions are everything. Within mere seconds, visitors form judgments about your website that can determine whether they stay or click away.
Did you know that a whopping 75% of online shoppers say that images heavily influence their buying decisions? It’s true! So, if you’re not investing in creating captivating and optimized Shopify product images, all your hard work in building and promoting your brand could go down the drain.
That’s why, in this article, we’re here to guide you on the art of crafting the perfect Shopify product images that will keep your customers hooked and invested in your brand.
Ready to dive into the world of irresistible visuals? Let’s get started!
💬 You might also be interested in:
[Must-Read] Tips For Shopify Mobile Optimization 2024
Youtube Vs TikTok: Which One Is Effective For Your Business?
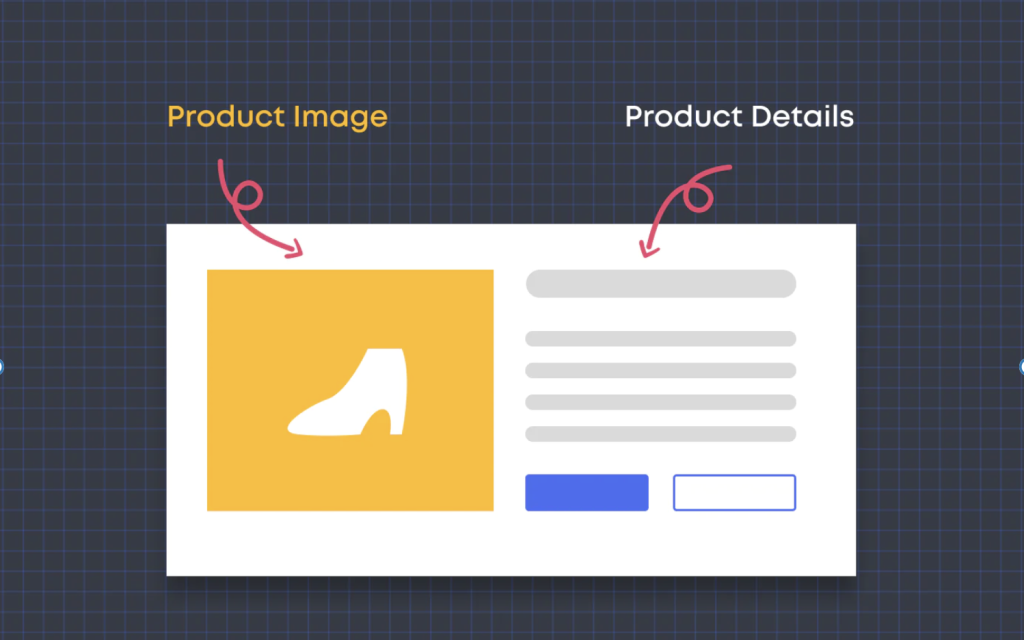
Understanding Shopify Product Images
High-quality product images are the cornerstones of any successful Shopify store. They act as your virtual salespeople, showcasing your products in their best light and convincing customers to hit that “buy” button.
Compelling product images can significantly boost your sales. High-resolution photos and clear visuals allow customers to thoroughly examine your products, fostering trust and confidence in their purchase decisions.
Search engines often prioritize listings with high-quality images in search results. Optimizing your product images with relevant keywords can improve your store’s visibility and attract more organic traffic.
Plus, clear and detailed product images can help set realistic customer expectations. This reduces the likelihood of misunderstandings and ultimately leads to fewer returns.
Types of Shopify Product Images
- Product Images: These are the hero shots of your product lineup. They should showcase your products from multiple angles, in different colors or sizes (if applicable), and with a consistent style and high resolution.
- Variant Images: For products with variations like color or size, variant images showcase the specific options available. This empowers customers to make informed choices and select the perfect product variant for their needs.
- 3D Models: Interactive 3D models take visual storytelling to the next level. These allow customers to rotate, zoom in/out, and view your products from any angle, creating a more immersive and realistic shopping experience.
- Videos: Short product videos can be incredibly engaging. Use them to showcase your products in action, demonstrate their functionalities, or tell a brand story that resonates with your target audience. Videos can grab attention, build trust, and ultimately drive conversions.
What Makes the Impressive Shopify Product Images?
Before you dive into capturing stunning product images for your Shopify store, take some time to prepare your shooting area. Here’s a rundown of the essential equipment you’ll need!
Camera

While a full-frame DSLR camera might seem like the holy grail, you can start with a point-and-shoot camera or even your smartphone. Shopify recommends a smartphone with at least a 12-megapixel camera for capturing high-quality images.
If you’re on a budget or just starting out, your smartphone can be a powerful tool. However, consider limitations like lower image resolution and less manual control compared to dedicated cameras.
Tripod

Using a tripod ensures stability and eliminates camera shake, resulting in crisp and clear images. This is especially important for capturing multiple product shots from the same angle.
Optional but Recommended: While not absolutely essential, a tripod will significantly improve the quality and consistency of your product photos.
Lighting
Lighting plays a crucial role in professional-looking product photography. There are two main options to consider:
- Natural Light: Utilize natural light whenever possible. Look for a well-lit area with diffused light to avoid harsh shadows.
- Studio Light: If natural light isn’t readily available or consistent, consider investing in studio lighting. This gives you more control over the lighting setup and allows you to achieve consistent results.
Background
A plain white background makes post-processing and editing your product images a breeze. This allows you to easily isolate your product and create a clean, professional look.
You can achieve a white background using a large roll of white sweep (curved paper for seamless background) or a more budget-friendly option like a white poster board.
White Bounce Cards

You can use readily available foam boards from any office supply store as effective bounce cards.
Duct Tape
Duct tape is handy for various purposes during your product photoshoot. Use it to secure your white background in place, hold product elements together, or position small items for stable shots.
With these essentials on hand, you’ll be well-equipped to capture high-quality product images that elevate your Shopify store and showcase your products in their best light. Remember, even with a basic setup, careful preparation and attention to detail can produce impressive results.
Capture Compelling Shopify Product Images in 3 Steps
Creating high-quality product images for your Shopify store doesn’t require a professional studio or expensive equipment. With some preparation and these 3 steps, you can capture stunning visuals showcasing your products and driving sales.
Step 1: Setting Up Your DIY Studio
Utilize natural light whenever possible. Position your folding table next to a window, with the window on the side for soft side lighting that highlights product details.
Unroll a large white sweep (fabric or paper) and secure it to the wall/ceiling above your table. Let the other end drape down the table, creating a curved background. Tape the background to the table for stability and a seamless white backdrop.

On the opposite side of the table from the window, place a bounce card (white foam board or cardboard) vertically near the table’s edge. This reflects light from the window, reducing unwanted shadows on your product.
Ensure your products are clean, polished, and free of imperfections. Pay attention to detail, as you want them to look their best in the photos.
Place your product in the center of the table facing the background. Experiment with angles to find the most flattering and visually appealing view. For added depth, consider incorporating props or complementary accessories.
Step 2: Capturing Captivating Product Photos
Don’t expect perfection right away. Get comfortable with your equipment and experiment with different angles and positions to develop your technique.

Capture at least 4-5 photos from various angles. This gives customers a comprehensive view of your product, just like examining it in person.
Frequently check the focus to ensure your photos are crisp and clear.
Periodically step back and review your photos on a computer monitor, not just the camera screen, to evaluate their quality.
Goal: Strive to capture product images that accurately reflect your items, as if customers were examining them in a physical store.
Step 3: Essential Image Retouching
Even seemingly good photos benefit from retouching. This step ensures consistent image quality across your product listings, enhancing professionalism.
Key Areas for Retouching
- Brightness: Adjust brightness to enhance darker images, but avoid overdoing it and creating whitewashed areas.
- Sharpness: Sharpen the image edges to create a crisper focus and enhance product clarity.
- Contrast: Strategically increase contrast to highlight texture and add depth to your product photos.
- Color Saturation: Subtly adjust color saturation for a richer, more vibrant look that grabs attention and ignites customer interest.
Optimizing Your Shopify Product Images for Success With 5 Best Practices
Having captured stunning product images, here are 5 crucial steps to optimize them for your Shopify store, maximizing their impact and driving sales:
1. Choosing the Right Image Format
Shopify supports various image formats, but JPEG reigns supreme for product images.
JPEG offers the best balance between image quality and file size, ensuring fast loading times without sacrificing visual appeal.

Here’s a quick reference guide for Shopify’s common image formats:
- JPEG: Ideal for product pages, blog posts, and landing pages due to its compressed file size.
- PNG: Excellent for graphics, logos, and icons with flat colors due to its high resolution, but file sizes can be large.
- WebP: Google’s format is designed to replace JPEG, PNG, and GIF. Offers smaller file sizes for faster loading, but browser support is still developing.
- GIF: Primarily for animations and simple graphics due to lower image quality. Shopify can convert GIFs to WebP for better performance.
2. Following Image Size Guidelines

- Ideal Image Size: 2048 x 2048 pixels is the recommended size for square images that can stretch and fill the screen without appearing blurry. Smaller sizes might get cropped or lose quality.
- Maximum File Size: Keep file sizes under 20MB to avoid upload issues and slow loading times. Aim for smaller images (ideally under 2MB) for optimal performance.
- Resolution: 72 dpi is the standard resolution for online viewing. Too large can slow down loading, while too small can lead to blurry images.
Reduces file size without sacrificing quality. Tools like Photoshop, PicMonkey, and TinyPNG offer lossless compression options.
3. Creating Responsive Images
Responsive images automatically adjust to the device they’re viewed on, ensuring optimal display across various screen sizes and resolutions.
Shopify automatically optimizes images for mobile devices, but using a modern, responsive Shopify theme further enhances image resizing for different devices.
4. Utilizing Image Sitemaps
Image sitemaps are tools that provide search engines with detailed information about the images on your website.

This helps improve SEO by informing Google about your website’s content and ensuring all pages are crawled.
While beneficial for SEO, creating image sitemaps might involve some coding. Consider seeking developer assistance if you’re not comfortable with the technical aspects.
5. Adding Alt Text
Alt text (alternative text) is an HTML code that describes an image.
It’s crucial when images fail to load or for visually impaired users who rely on screen readers.
Descriptive alt text enhances website accessibility by allowing screen readers to vocalize user image descriptions.
Alt text also contributes to SEO by providing search engines with relevant information about your product images.
Conclusion
In the competitive world of Shopify, quality product images are essential for standing out. Crafting them takes time and practice, but our blog’s advice and 5 best practices will simplify the process, helping you capture attention and drive sales.
[…] Optimize Shopify Product Images For A Better User Experience! […]
[…] Optimize Shopify Product Images For A Better User Experience! […]